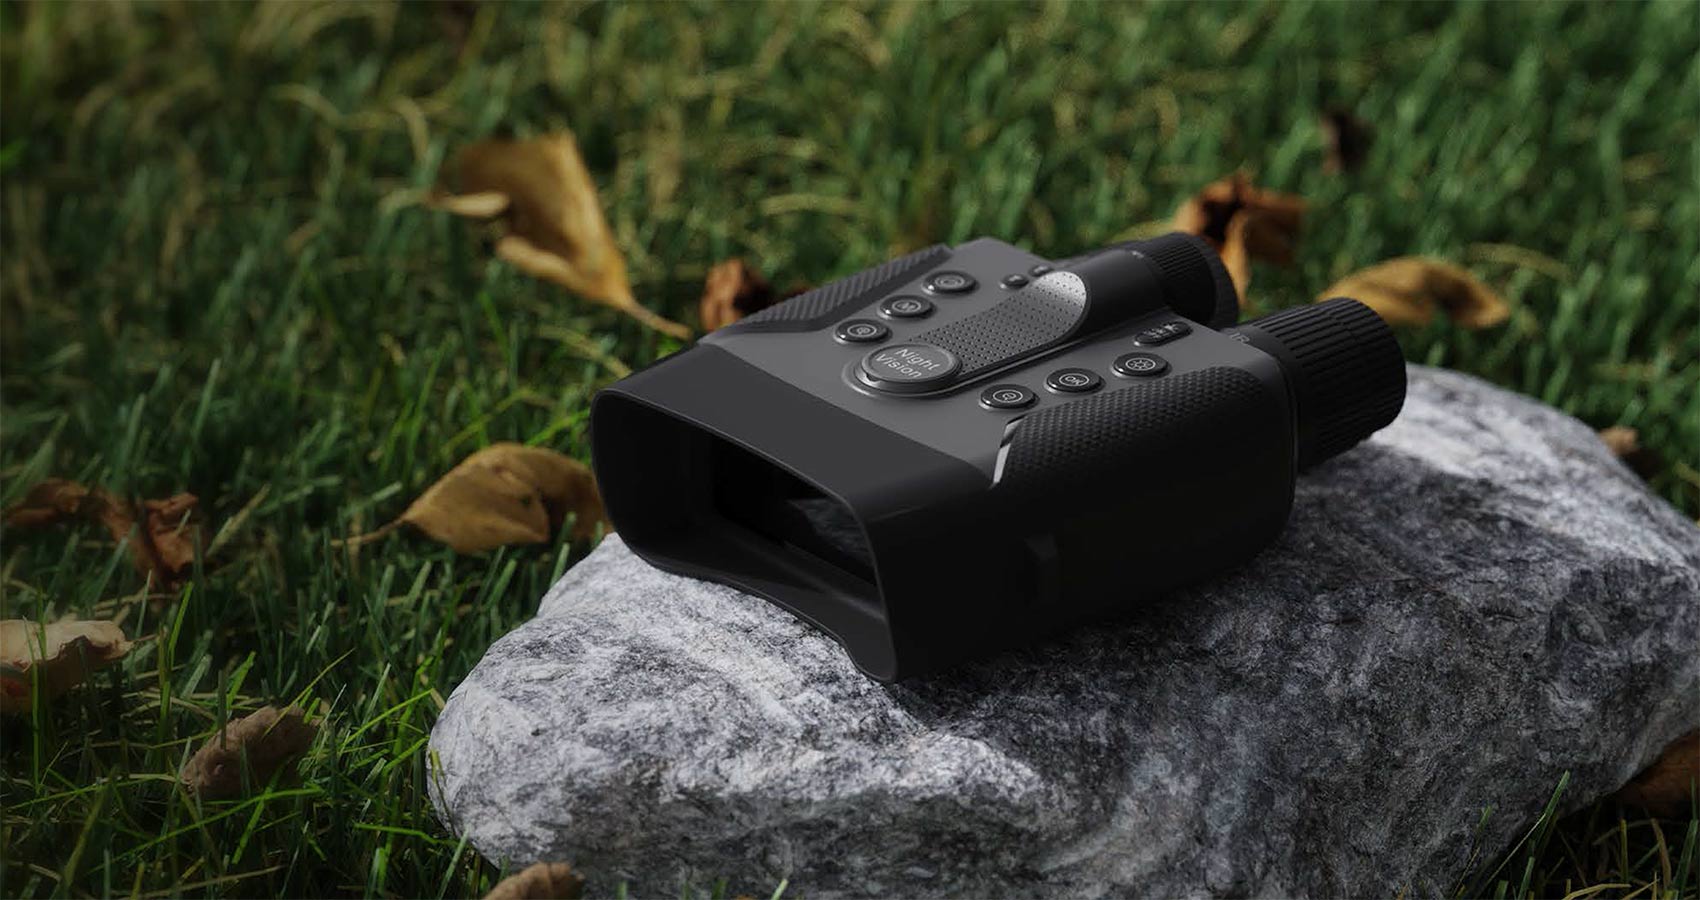


How to Use for Hunting Night Binoculars for Sale for Family Camping?


Quick Answer
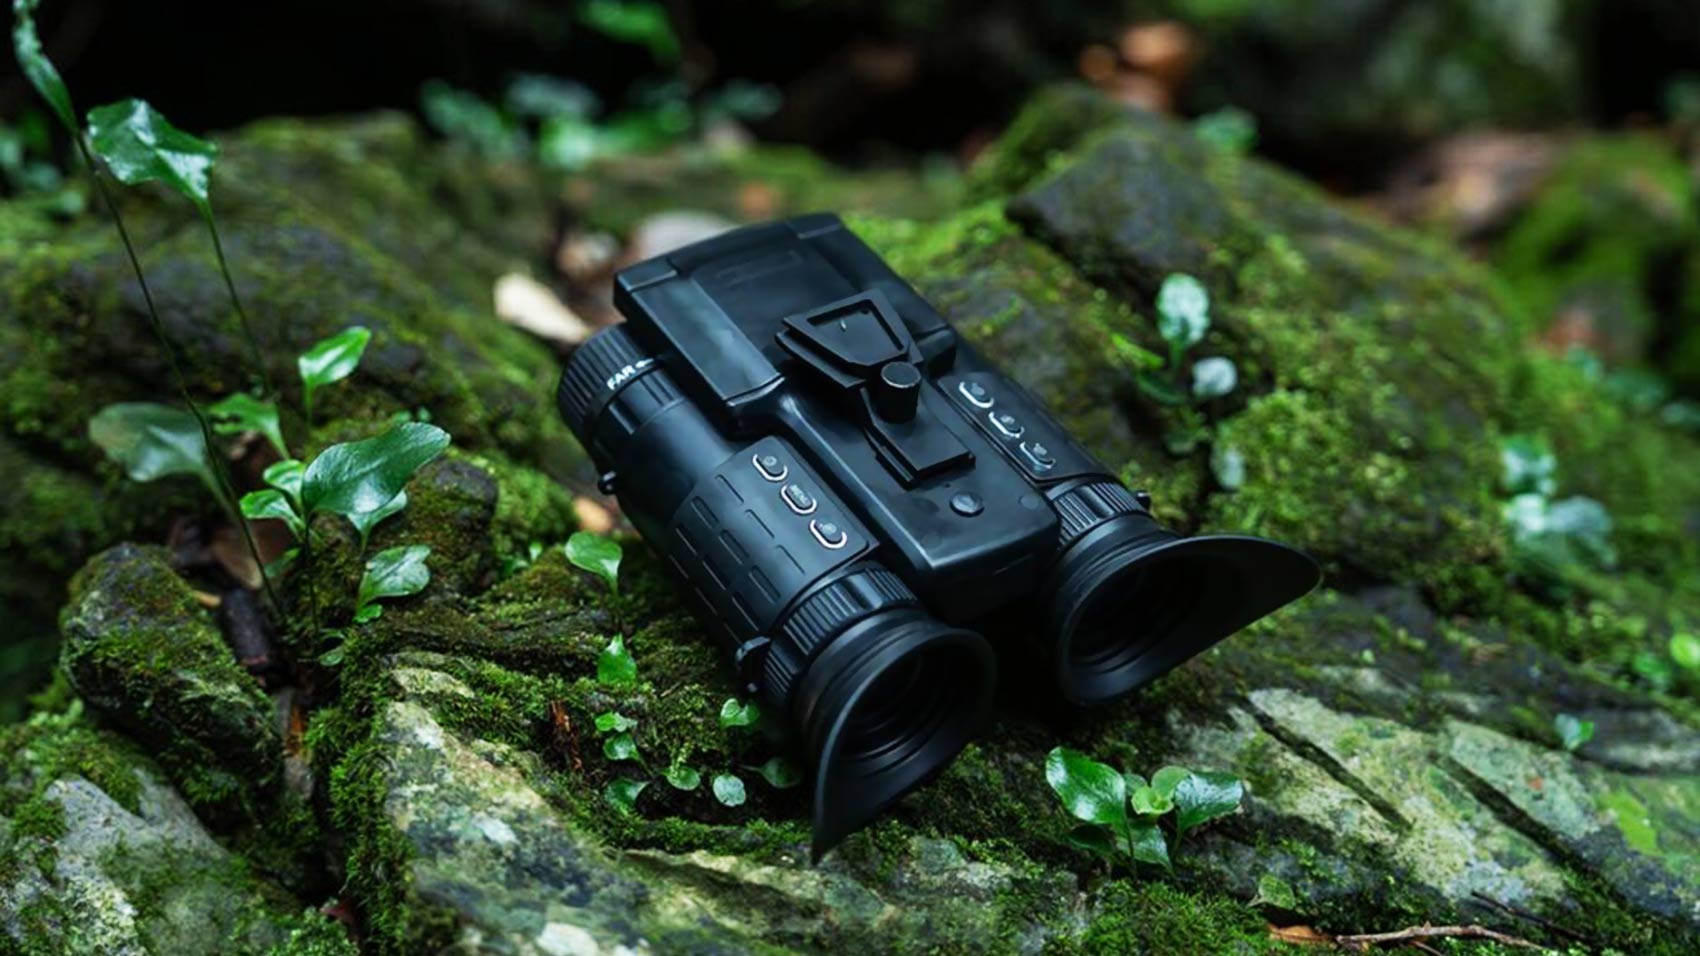
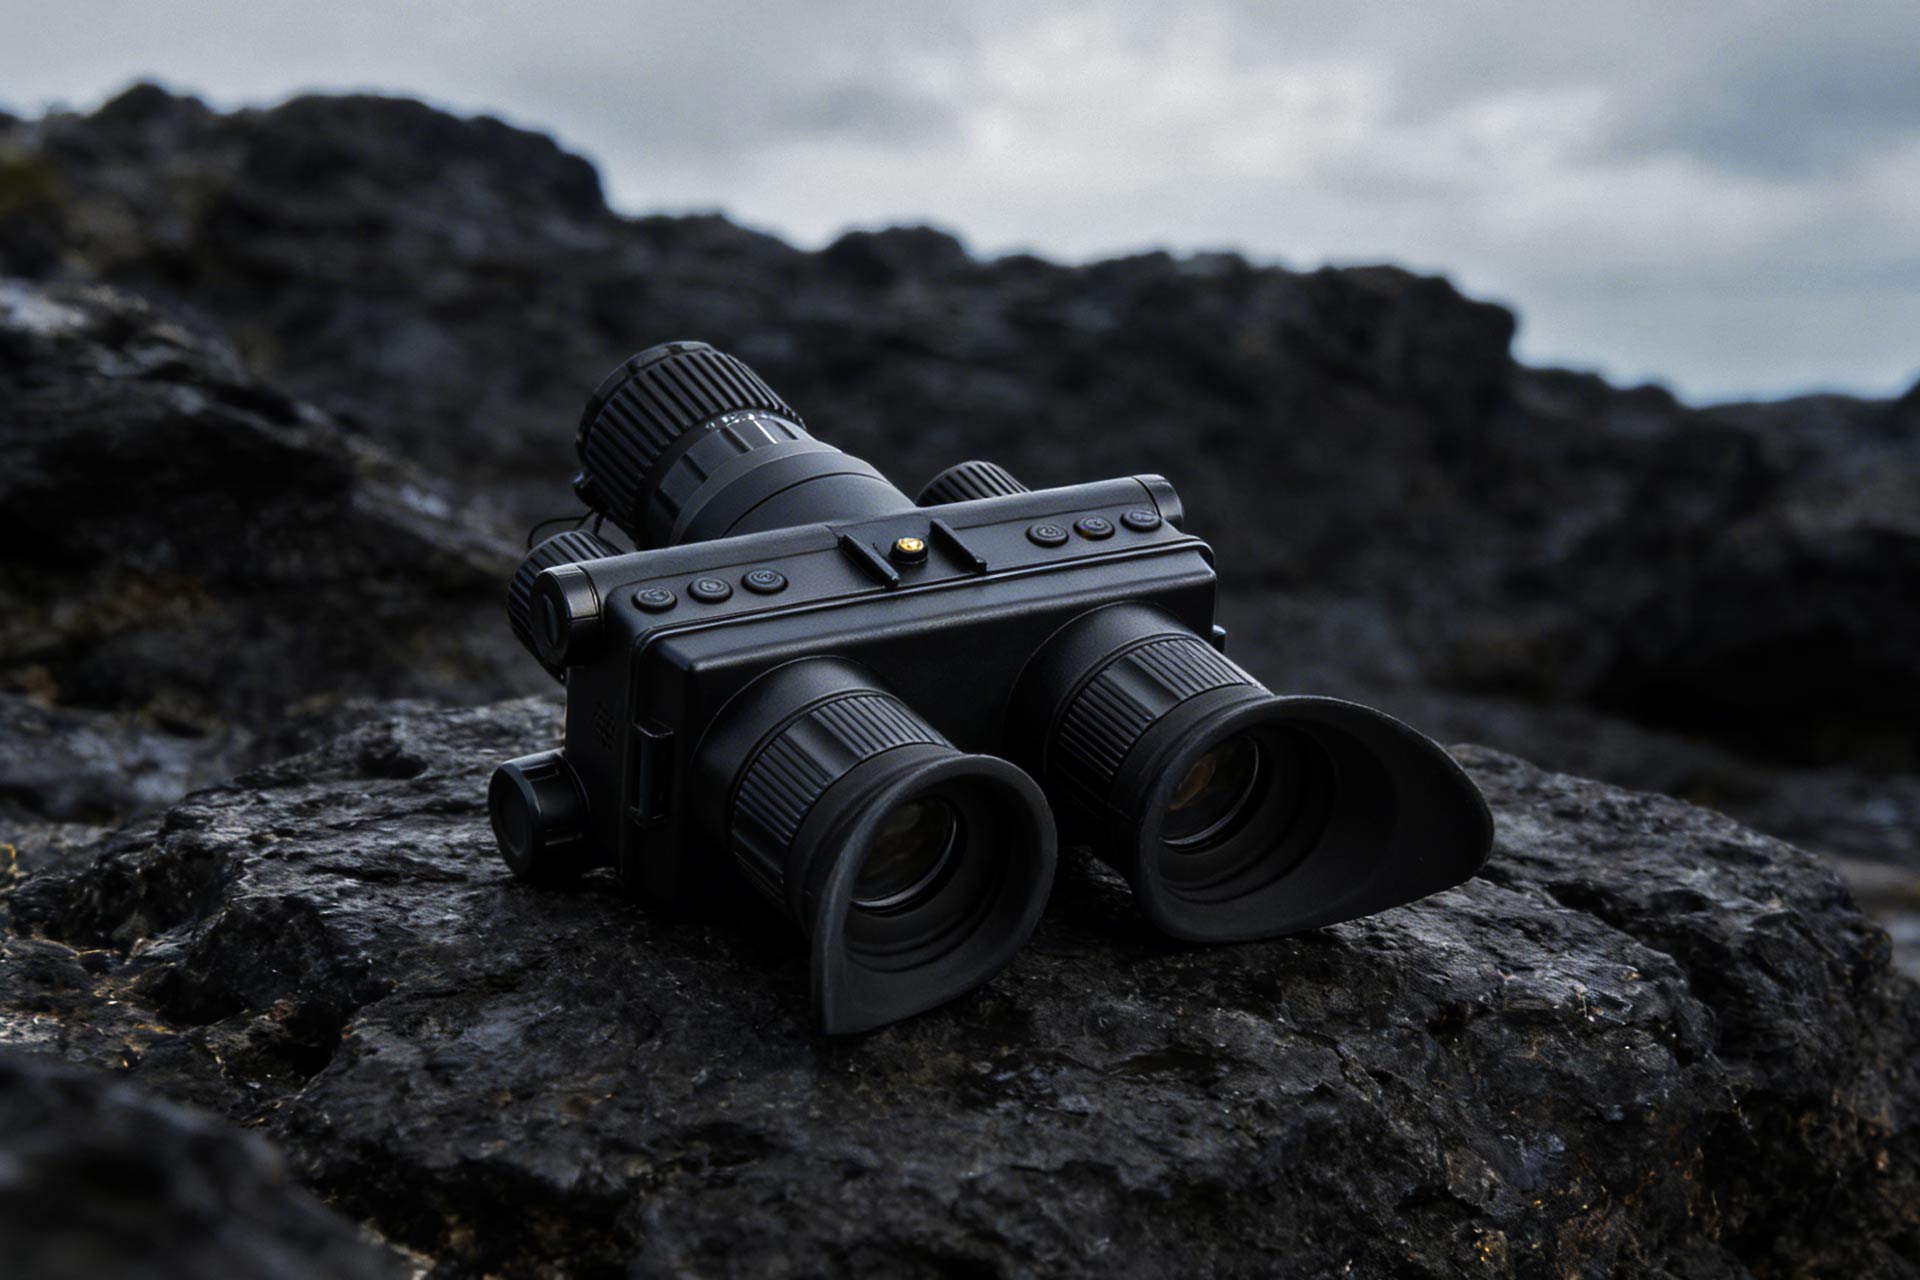
When comparing night binoculars for sale for family camping, choose a model that lets you focus easily, adjust infrared illumination, and review saved video. Start with stationary wildlife observation from a familiar campsite, then test a short recording before relying on the screen preview. Equipment described for hunting observation can also suit camping, but handling, nearby glare, and recording quality matter more than the label.
Definition: What a Recording Night Binocular Does
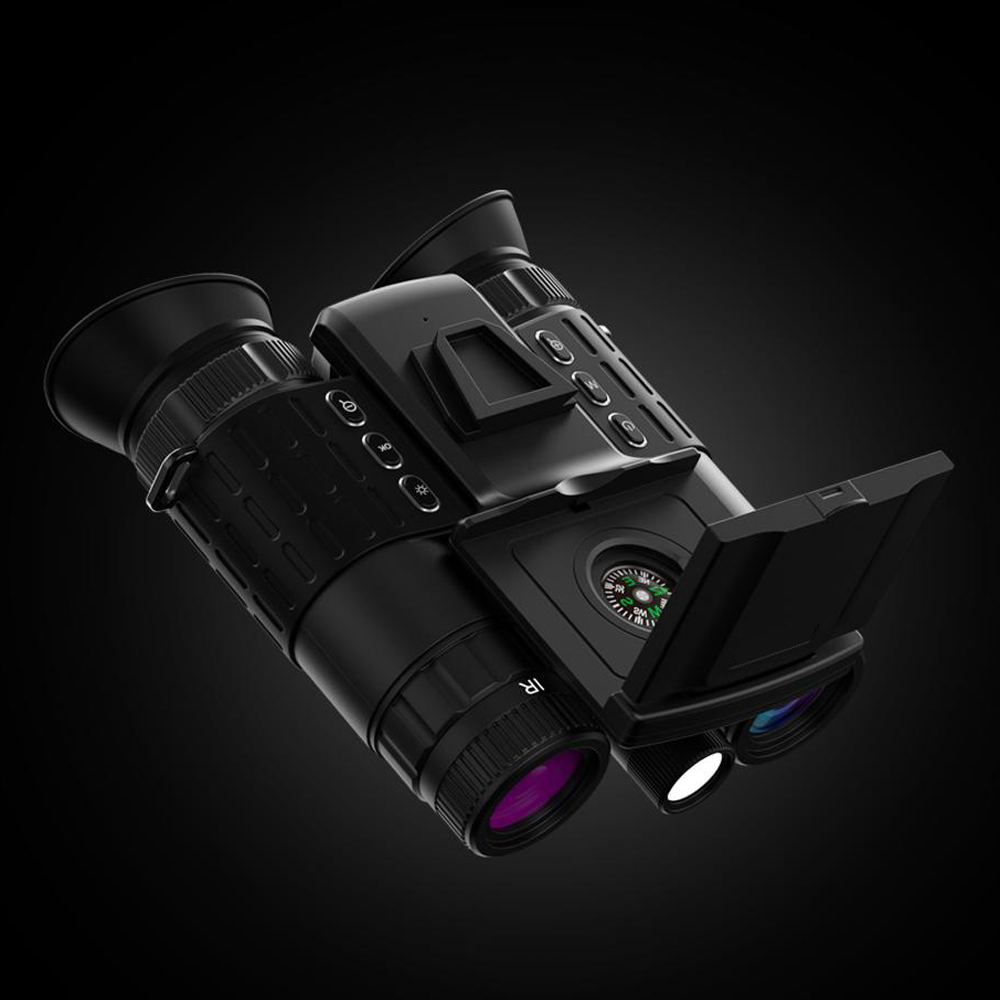
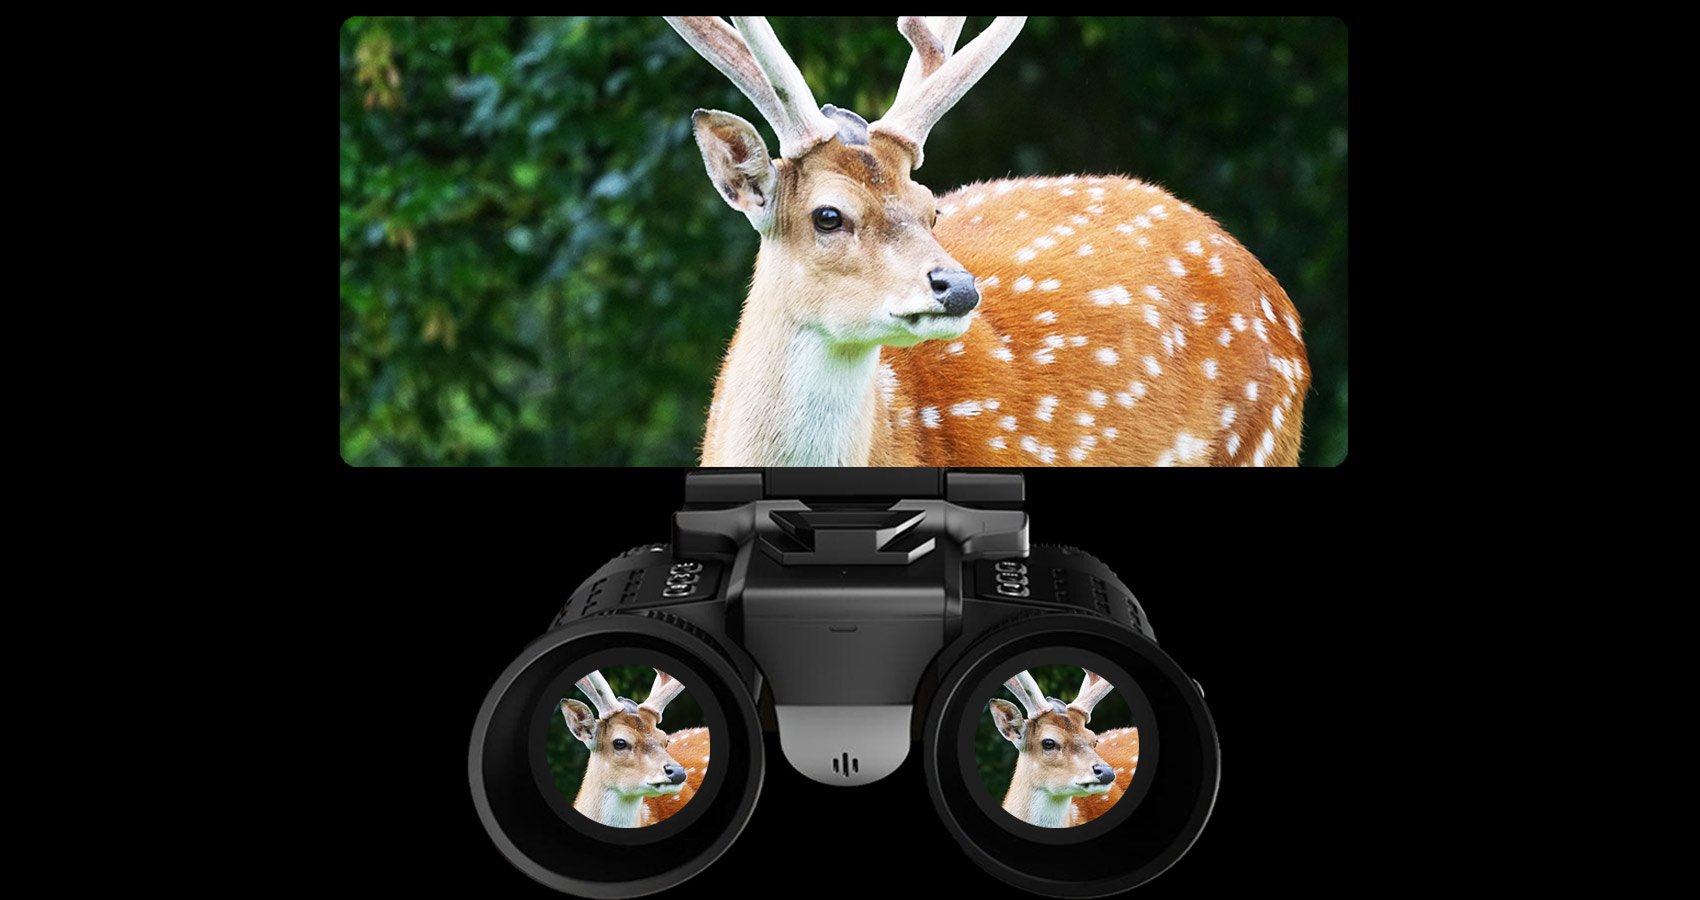
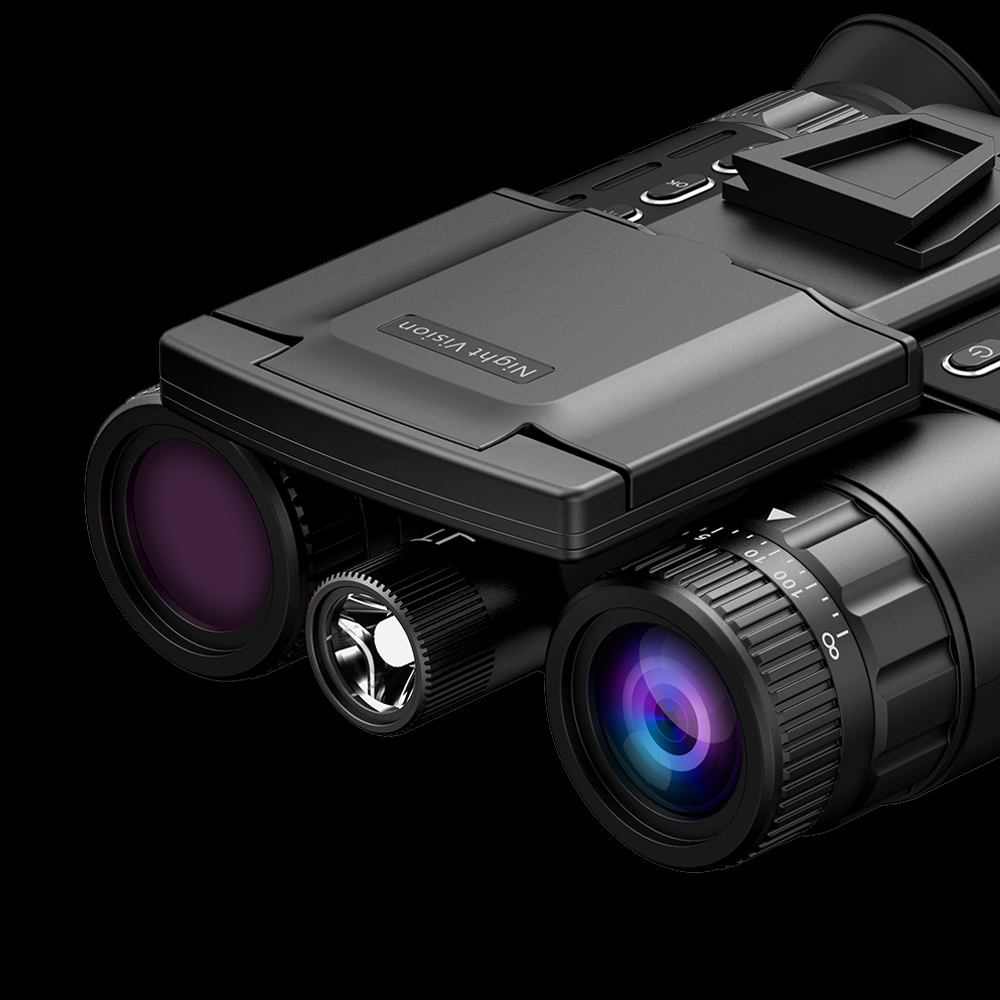
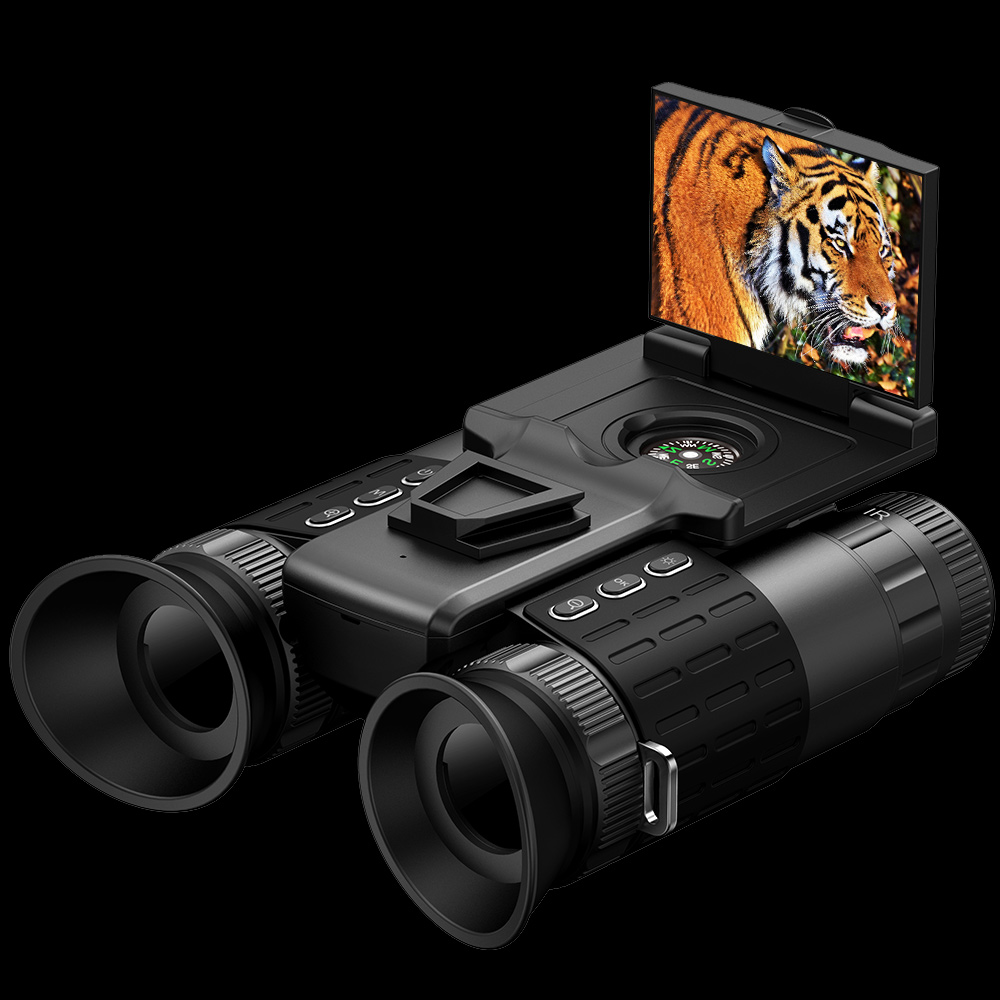
A digital night binocular uses an electronic sensor to form an image on a display. A built-in infrared illuminator can light the scene when available light is insufficient. The recorded file comes from that imaging system, so a comfortable display does not by itself prove that saved footage will show fine detail.
This is reflected-light imaging. As NASA explains about near-infrared light, reflected near-infrared is different from the radiation used to make thermal images. A dark animal against dark vegetation can remain difficult to distinguish even when the display looks bright. Understanding that difference makes a first evening with the equipment much less frustrating.
Key Takeaways
- Set up the controls before dusk and practice recording while seated.
- Check focus and nearby obstructions before raising infrared power.
- Review a saved clip on another screen before judging recording quality.
- Choose handling and usable detail over the largest file-resolution number.
- Keep the session short enough for children to share the view comfortably.
Set Up Before the Interesting Moment Arrives
Build a simple observation position
Imagine arriving at a wooded campsite before dinner. A fence line, an open clearing, and a distant tree give you three reference points. Identify them in daylight, then choose a stable seat with a clear view. Keep the objective lenses beyond tent fabric, branches, and hanging straps. Anything close to the illuminator can reflect light back into the picture.
Attach the supplied strap correctly, fit the lens cover where it cannot swing into view, and find the recording button without looking down. For a family group, pass the unit while everyone remains seated. Looking through an electronic display changes your awareness of the ground, so put it down before walking around guy lines or a fire area.
Establish a useful starting image
Begin at the lowest digital zoom. Adjust the viewing optics, if provided, until menu text is comfortable to read. Then focus the objective on a fixed object at the distance you intend to watch. These adjustments solve different problems: the first suits your eyes, while the second brings the outdoor subject into focus.
Turn on only as much infrared illumination as the scene needs. Increasing screen brightness may make the display easier to see, but it does not add captured detail. If the picture remains dark, check whether the illuminator points into foliage, whether the lens cover is fully clear, and whether the subject lies beyond useful illumination.
Make Family Wildlife Watching Easy to Share
For a bird watcher introducing children to nighttime observation, success might mean noticing movement near a tree and recording a recognizable silhouette. It does not require a close approach or a long session. Let one person describe the subject’s position while the next person takes the binoculars. A shared landmark is much easier to follow than an instruction such as “over there.”
Give wildlife room to move and stop if your presence changes its behavior. The National Park Service wildlife-watching guidance is a useful starting point for keeping distance and avoiding disturbance. Night viewing equipment helps you observe from a chosen position; it should not become a reason to follow an animal away from camp.
For background before the trip, the main-site night vision binoculars guides explain related buying and setup topics. The most useful preparation, however, is a practice session with the actual people who will share the device. Glasses, different hand sizes, and unfamiliar controls can affect the experience more than another menu option.
Why the Video Can Look Darker Than Expected
Separate viewing comfort from exposure
A bright screen in a dark tent can make the preview seem impressive. Later, the clip may reveal noise, missing texture, or motion blur. Check the original file on a familiar screen at a normal brightness setting. Avoid making a buying decision from a heavily compressed message attachment, because that adds another source of lost detail.
Low-light video also involves time. Longer exposure per frame can brighten a stationary scene but smear a moving subject. Some models offer frame-rate choices; others adjust automatically. Ask for sample footage showing movement under the conditions you expect, rather than only a still view of a well-lit object.
Record a short comparison instead of changing everything
Make one clip with your starting settings. Change only the infrared level, record again, and compare. Next, test a modest zoom change while leaving the other settings alone. This simple sequence tells you which adjustment helped. Changing focus, zoom, brightness, and illumination at the same time makes the result difficult to interpret.
Check storage compatibility before leaving home. Format a compatible card using the device’s instructions after backing up anything important. Play a clip back, transfer it, and confirm that the recording includes the scene you intended. Discovering a card problem at the campsite is avoidable.
A Performance Checklist for Night Binoculars for Sale
| What you notice | What to check | What helps the purchase decision |
|---|---|---|
| The subject is dark | Focus, distance, IR level, and foreground reflections | A nighttime sample at a comparable distance |
| The screen looks clear but the clip does not | Original recording, motion blur, and compression | Downloadable original footage |
| Children lose the subject | Base field of view and control simplicity | A wide starting view and easy handover |
| Zoom makes the picture softer | Optical detail versus digital enlargement | Useful detail at modest zoom |
| A session ends unexpectedly | Battery charge, storage space, and auto-off | A complete practice session before travel |
Compare the Store Listing with Your Actual Routine
The WildGuarder WG9185 listing describes recording, an adjustable display, and an integrated rangefinder. Those are separate functions: a distance reading does not guarantee a recognizable recording at that distance. The WG9163 product page offers another model to compare. Use the exact current specification and manual for each version rather than assuming similar model names mean identical controls.
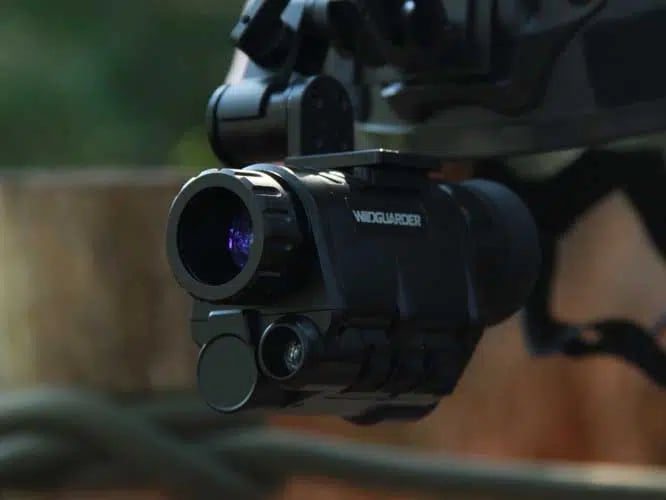
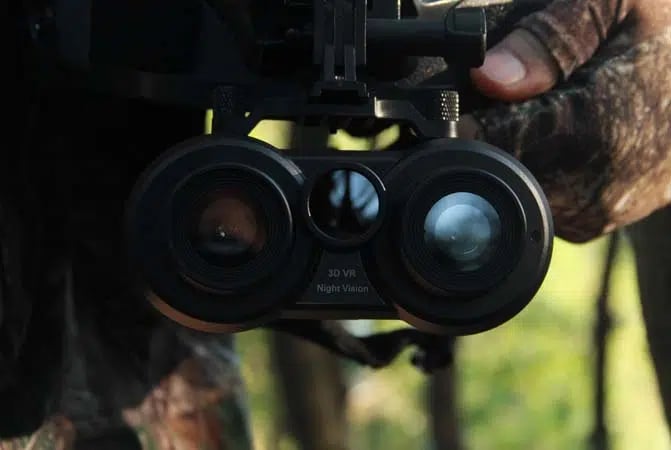
WildGuarder’s outdoor range includes night vision binoculars and night vision goggles, alongside range finders, trail cameras, thermal imagers, and solar panel accessories. For this trip, keep the buying decision centered on handheld observation and shareable footage. A trail camera serves a different purpose when nobody is watching, while a thermal imager forms its picture differently.
Ask WildGuarder product support about original sample files, card requirements, and the supplied charging equipment. Read the current return policy before planning any outdoor evaluation. Confirm the permitted conditions for testing instead of treating a return window as permission for unlimited field use.
FAQ
Can night vision binoculars be useful on family camping trips?
Yes, particularly for short, stationary sessions around a familiar campsite. Practice the handover, focus, and recording controls before dark. An adult can help children find a landmark without turning the session into a walk through unfamiliar terrain.
What are the most common spec-sheet traps in digital night vision binoculars?
Common traps include confusing saved photo dimensions with native sensor detail, digital zoom with optical reach, and a maximum viewing distance with identification distance. Ask what was visible in the sample and how it was recorded.
How far can night vision binoculars detect a deer?
There is no dependable single distance for every deer, device, and night. Body size, background, movement, air clarity, and illumination all matter. Detecting movement is a less demanding task than recognizing enough detail to identify the animal confidently.
What does ‘starlight sensor’ mean on digital night vision binoculars?
It usually describes a sensor promoted for low-light use, not a universal performance grade. Look for original nighttime recordings and the conditions behind them. A sensitive sensor still needs light and cannot guarantee a detailed picture in complete darkness without illumination.
How much should I spend on digital night vision binoculars for night hunting observation?
Set a budget around the observation task and the cost of the complete kit. Prioritize controllable focus, useful nighttime samples, reliable recording, and support. Compare current prices after identifying those needs rather than assuming a higher price proves longer usable range.
Which specifications matter least when shopping for digital night vision binoculars for camping?
Very large interpolated photo sizes and extreme digital-zoom figures usually contribute less than comfortable viewing and a manageable field of view. For camping, simple controls and dependable short recordings often deserve more attention than the biggest number on the box.
What compromises should I expect from cheaper digital night vision binoculars for camping?
A lower-cost model may have a less comfortable display, fewer adjustments, or more obvious noise in difficult light. Ask for evidence of those trade-offs. A modest device can still suit nearby stationary observation if its limitations fit the trip.
Which specifications matter least when shopping for digital night vision binoculars for bird and owl watching?
Maximum digital zoom is a weak guide to observing birds and owls. Focus precision, motion rendering, and enough field of view to locate the subject are more useful. Avoid moving closer merely to improve a recording.
Conclusion
A satisfying campsite recording starts with a steady position, clear focus, and a short test clip. Use those checks to narrow the night binoculars available in the WILDGUARDER Official Store, then compare the original footage and handling details of your shortlist. Choose the model your family can use comfortably when the interesting moment actually arrives.
Related Reading
- How to Use for Camping IR Night Vision Binoculars for Family Camping?
- How to Choose Best Binoculars with Camera for Camping
- What to Look for in Binoculars with Camera: A Practical Buyer Checklist
- Can You Use Digital Binoculars for Family Outdoor Activities?
- Why Digital Night Vision Binoculars Recording Drains Battery: What Outdoor Users Should Know
- Night Vision Binocular IR Range Explained: How to Read Real-World Limits
- Binoculars and Night Vision Value Guide: Features That Matter Most
- Binoculars with Night Vision Explained: What It Means and How to Choose
- Top 10 Things You Need to Know About Night Vision Binoculars
- Why Binoculars with Night Vision Infrared Glow Is Misunderstood: Common Causes and Practical Fixes