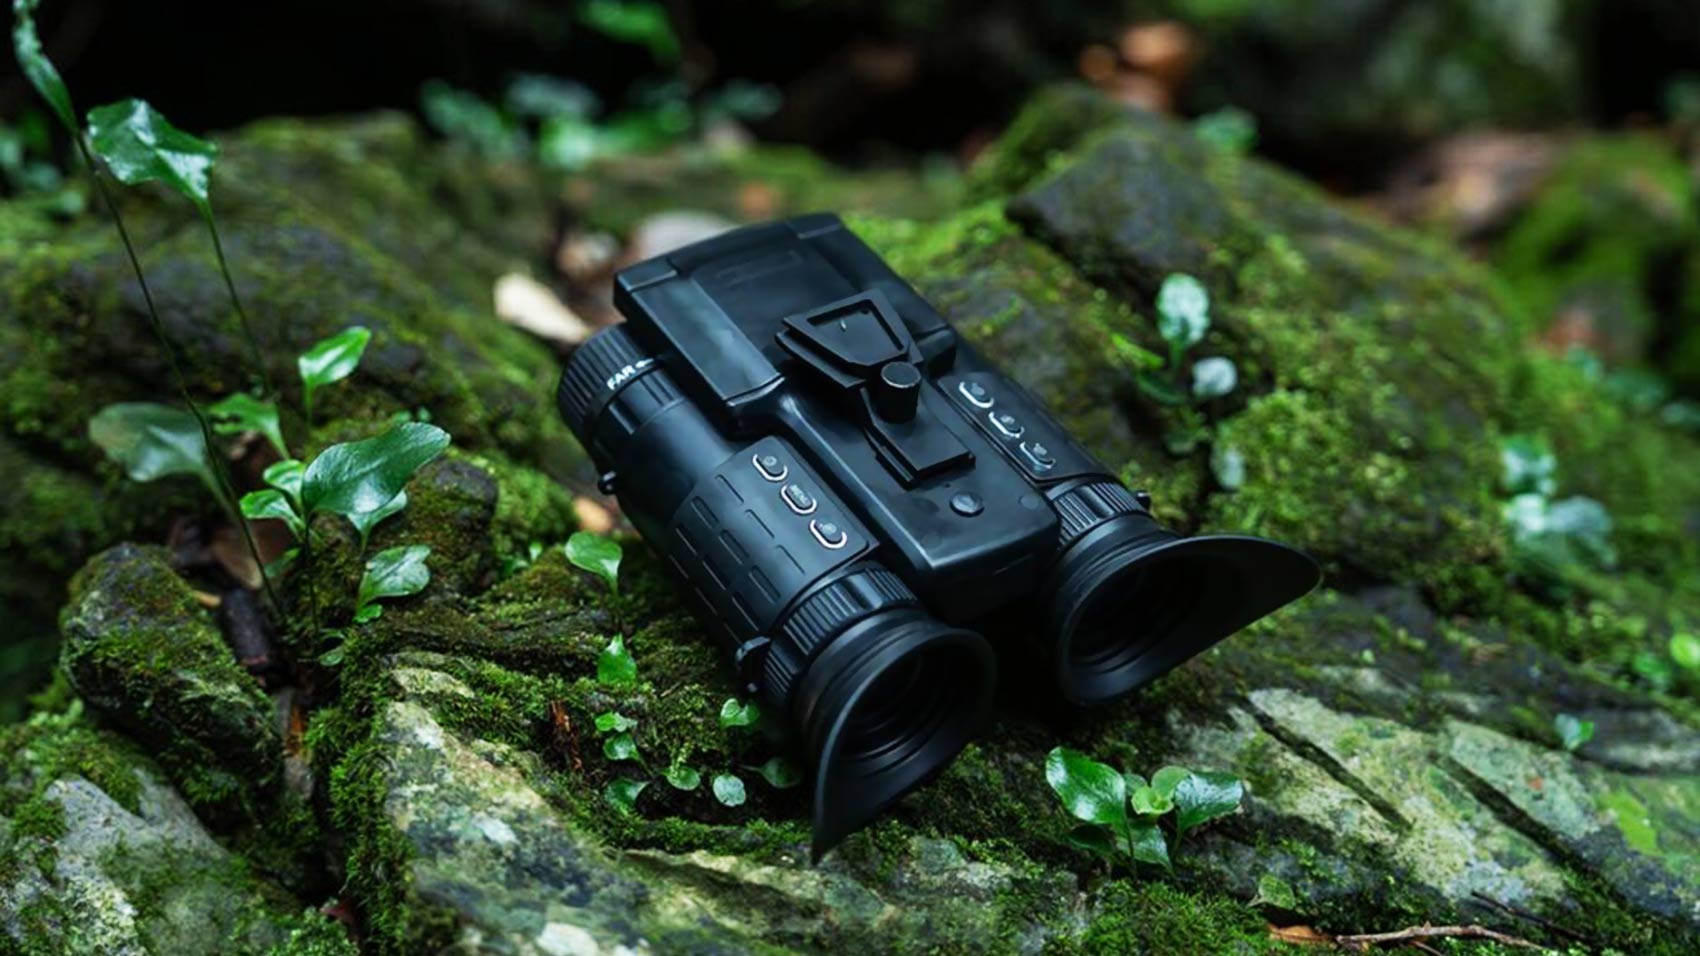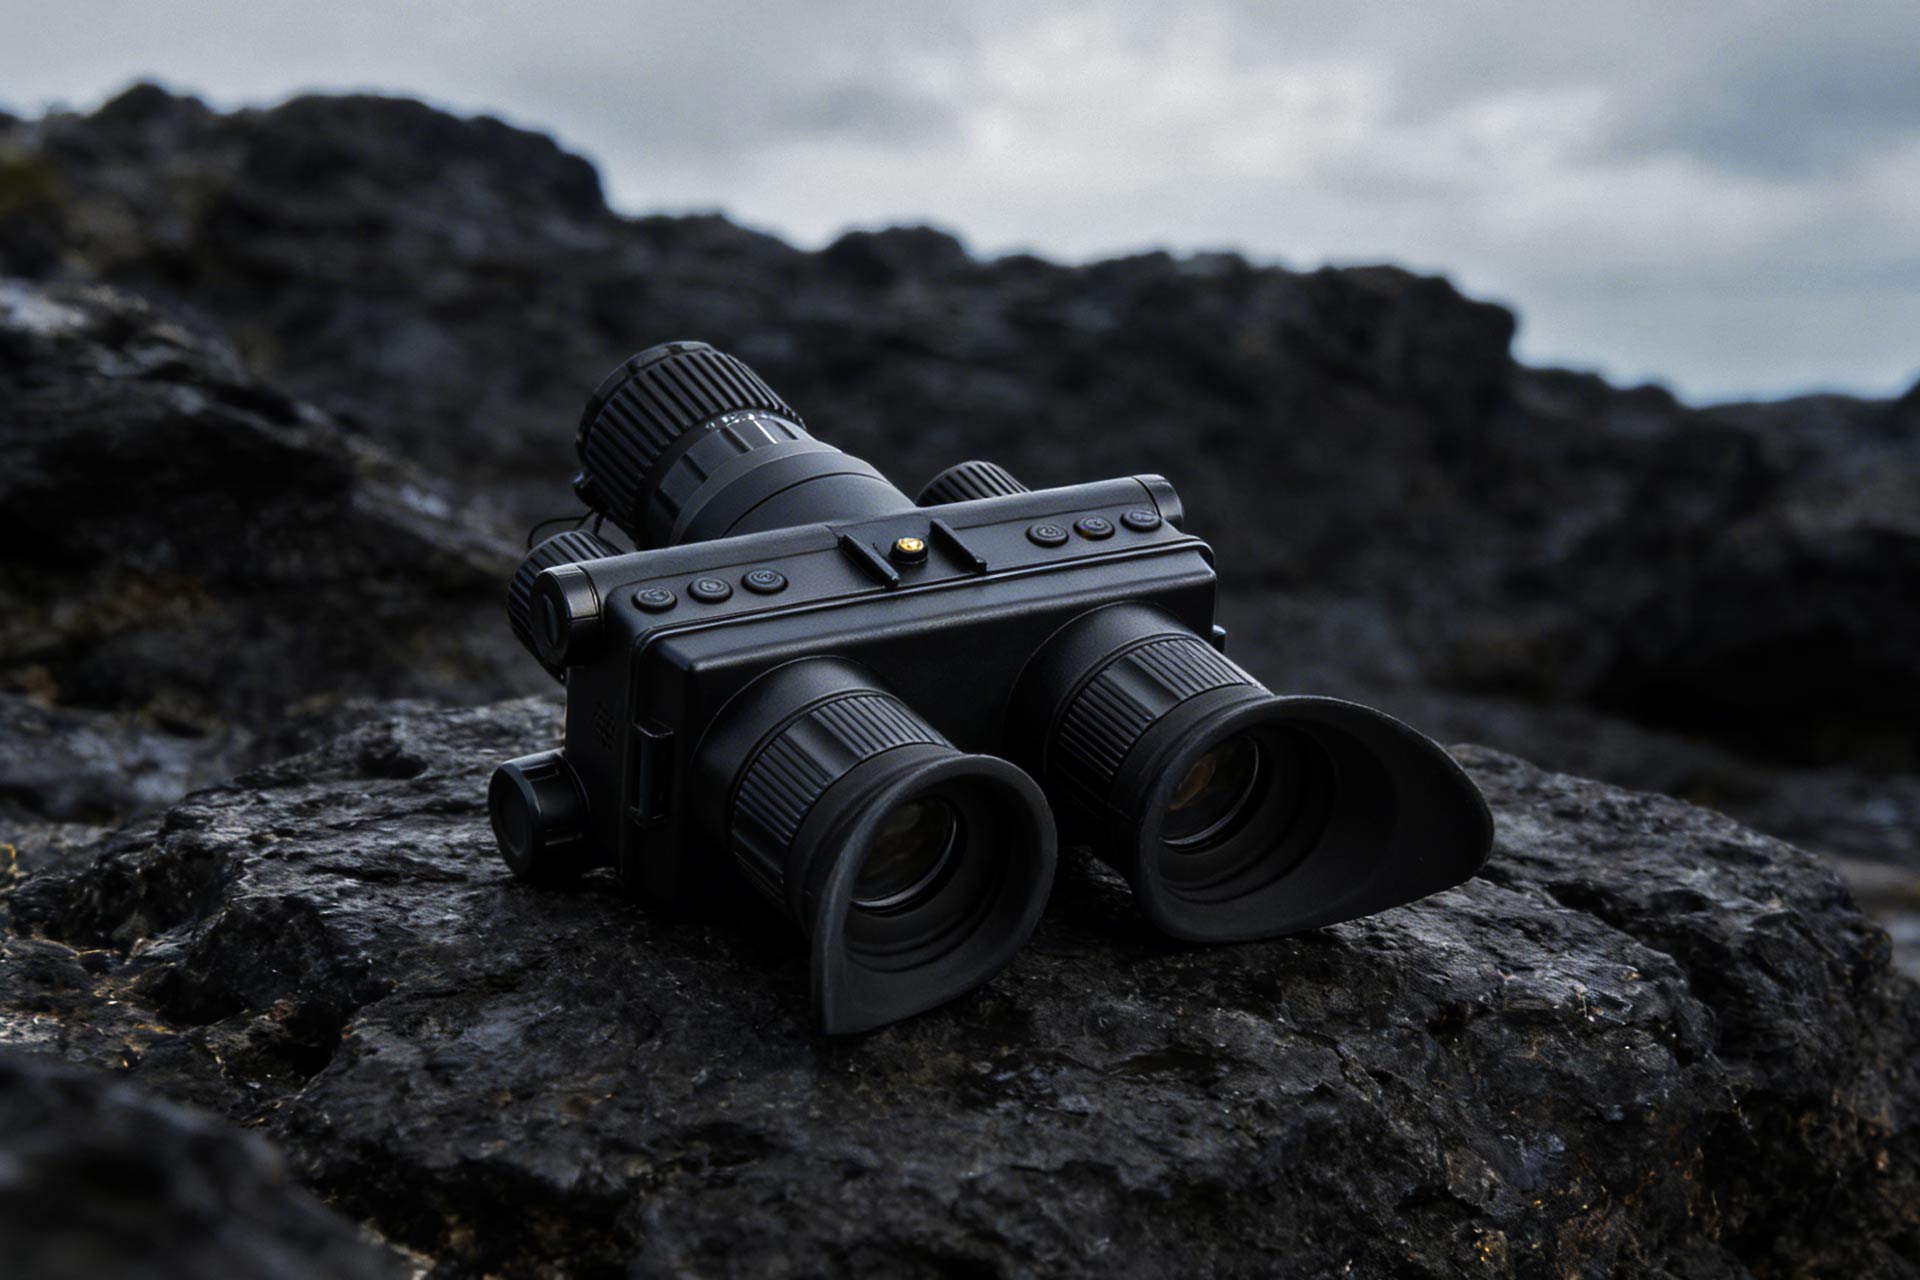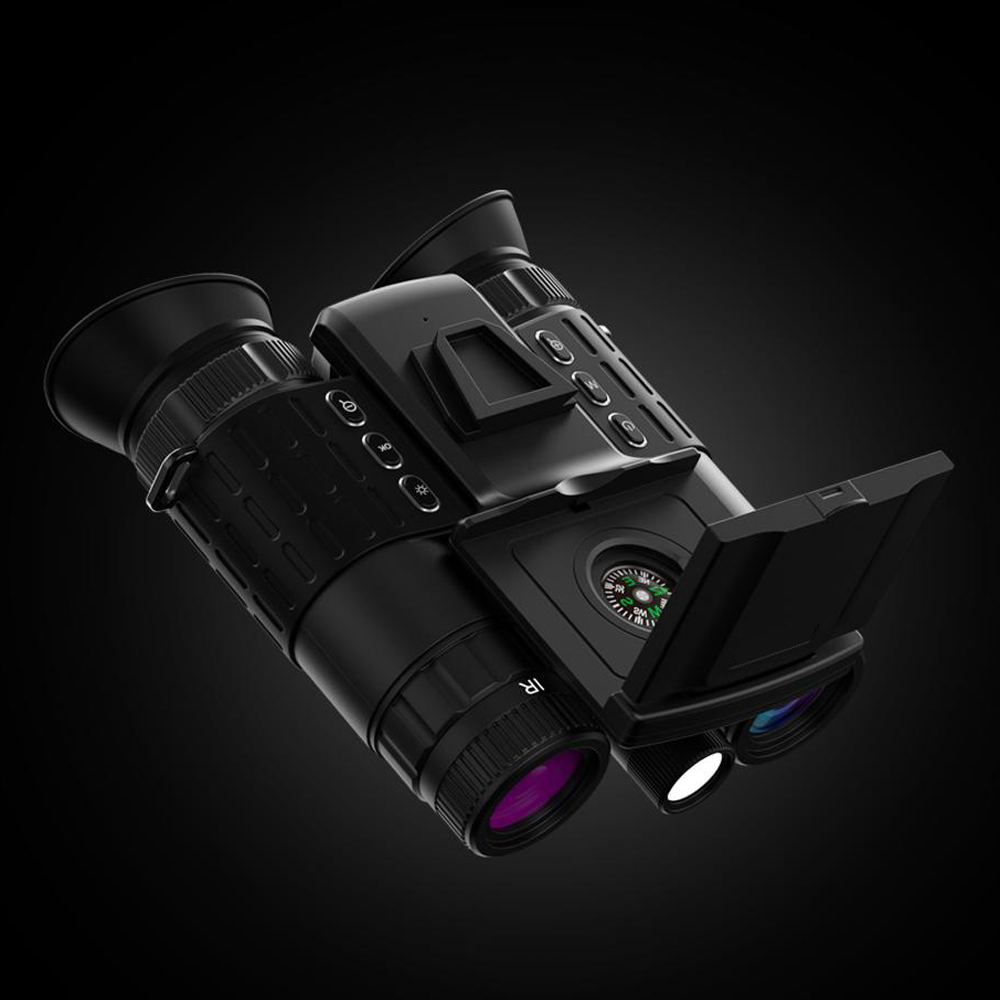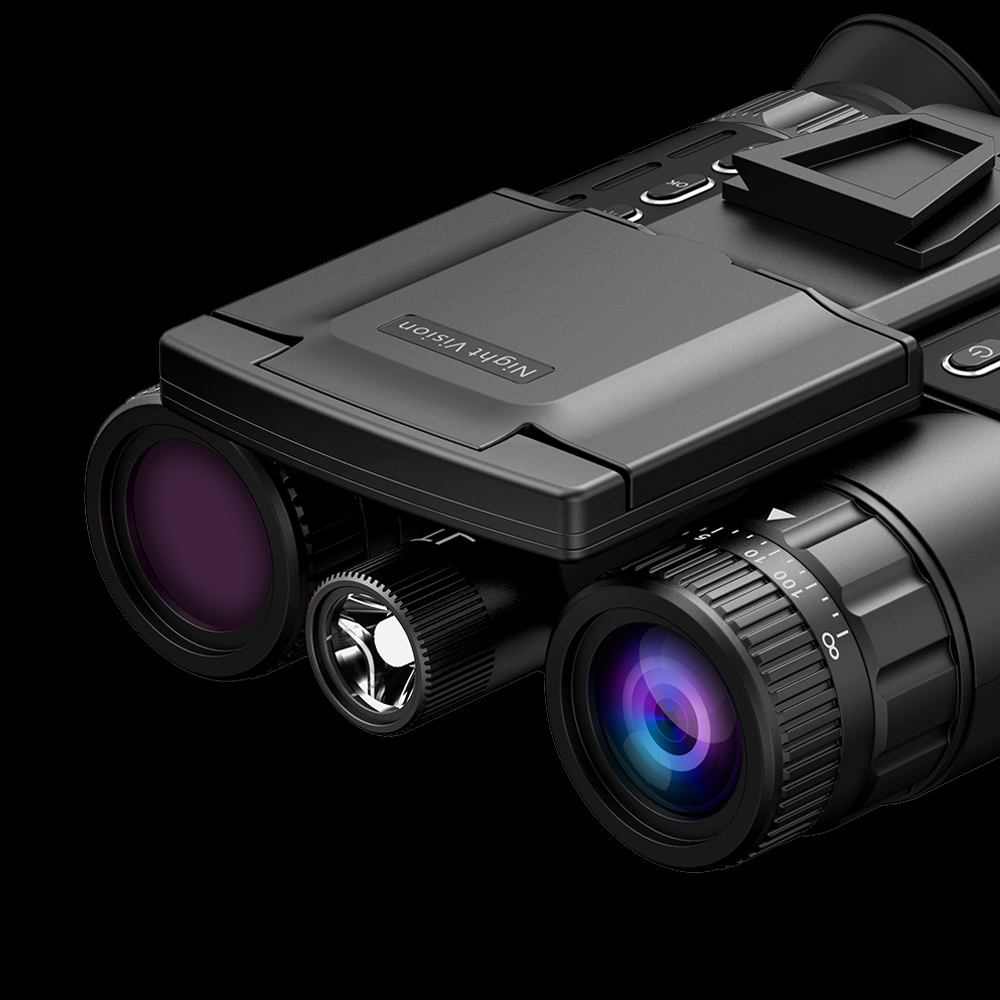


How to Use in Rain Best Night Vision Binoculars for Farm Security?

Quick Answer
Use the best night vision binoculars for farm security in rain only within the exact model’s documented weather limits, preferably from a sheltered, stable position. Keep the optical path clear and adjust infrared power carefully because nearby droplets and wet surfaces can create glare. Expect the distance at which useful detail remains visible to change with conditions, even when the equipment continues operating.
Key Takeaways
- Confirm water-protection instructions before exposing the device to rain.
- Separate a wet lens, atmospheric glare, and poor focus when diagnosing a soft image.
- Try a clearer position and lower IR before increasing power.
- Use known nearby landmarks to reassess the useful viewing distance.
- Stop when exposure exceeds the manual or the image no longer supports a reliable observation.
Definition: Weather Protection Versus Wet-Weather Visibility
Weather protection describes what exposure the equipment is designed to tolerate under specified conditions. Visibility describes what you can actually distinguish through the scene. A binocular may remain functional while rain, mist, reflections, or water on a lens make the image less useful.
The IEC 60529 IP-code standard provides a framework for enclosure protection. It does not guarantee a clear view through bad weather. Read the manufacturer’s specific rating and instructions, including the position of port covers and any restrictions on accessories. If water protection is not documented, do not assume it from the product’s outdoor styling.
Start with the Farm Question You Need to Answer
Suppose you normally check a yard entrance from beside the house. On a wet evening, the distant hedge disappears into a bright haze and the gate rail reflects strongly. The first question is whether you can still confirm the entrance condition from that position. It is not whether the device can reproduce its most optimistic range specification.
For someone accustomed to night hiking, it may feel natural to move closer. A farm introduces different obstacles: drainage channels, wire, machinery, and livestock. Select observation positions in daylight and use normal lighting when moving between them. Keep the binoculars for stationary viewing rather than walking while absorbed in the display.
Describe what you can see without filling in missing details. If rain prevents identifying a shape beyond the gate, treat it as an unconfirmed observation. A clear, cautious note is more useful than a confident conclusion based on a few bright pixels. Use the property’s established response procedure when a closer inspection is needed.
Why Infrared Range Can Shrink in Rain
The light must reach the scene and return
Digital infrared viewing relies on light reflected from the subject. NASA’s near-infrared explanation describes this reflected-light behavior and distinguishes it from thermal infrared. Moisture along the path and bright nearby surfaces can interfere with the useful contrast reaching the sensor. More illumination can brighten the interference as well as the intended subject.
The severity depends on the scene, rainfall, distance, and viewing geometry. Avoid assigning a fixed percentage loss for every wet night. Instead, compare the same known landmarks as conditions change. If you can no longer distinguish the feature needed for the task, your useful distance has decreased, regardless of what the distance label says.
A wet optical surface is a separate problem
Drops on the objective can scatter light and soften edges across the image. A wet window between you and the field adds another surface. Before turning the focus ring repeatedly, inspect the lens from a sheltered location and follow the cleaning instructions. Do not rub grit across the coating in an effort to clear the view quickly.
Fogging can occur when equipment moves between environments. External moisture and internal condensation need different attention. If moisture appears inside the unit, stop and consult the manufacturer. Raising IR or display brightness cannot repair a moisture problem inside the optical or electronic assembly.
Foreground reflections can hide the area that matters
A wet post close to the illuminator may look much brighter than the field beyond it. Move the viewing direction away from the post if a safe sheltered position allows. Lower IR and check whether the distant detail becomes easier to interpret. A darker overall image can sometimes be more useful than a bright picture dominated by glare.
Keep digital zoom low while locating the scene. After finding the landmark, use only the enlargement that still preserves useful detail. Enlarging rain streaks or a blurred outline does not provide new information, and a narrow view can make it harder to recognize where the subject sits within the property.
A Rainy-Night Decision Table
| Observation | First action | When to pause the check |
|---|---|---|
| Bright haze with IR on | Reduce IR and clear nearby obstructions | Required landmarks remain indistinct |
| Soft edges across the scene | Inspect the lens from shelter and refocus | Moisture appears inside the device |
| A wet rail dominates the picture | Change angle without leaving a safe position | A better view requires unsafe footing |
| Rain reaches an open connector | Stop exposure and follow the manual | Safe drying and inspection are needed |
| Distant movement lacks detail | Record it as uncertain and check nearer landmarks | The image cannot support identification |
| Conditions exceed the stated rating | Return the device to shelter | Do not continue merely because it still turns on |
Use a Short, Repeatable Observation Sequence
Before leaving shelter, confirm charge status, lens condition, closed covers, and the permitted exposure. Choose the nearest useful checkpoint first. Set comfortable display brightness, establish focus, then add infrared gradually. Move to a farther checkpoint only after you can interpret the nearer one.
Make a short recording if the model supports it and the scene warrants documentation. Review whether it preserves the feature you observed. Water reflections and motion can make a clip look different from your impression of the live view. Keep the original file and record the time and location without treating the recording as proof of details it does not show.
Afterward, follow the device’s drying instructions before closing it into storage or connecting power. Keep the charging equipment in a dry area. Avoid opening sealed housings or using concentrated heat to speed drying. The next inspection should begin with equipment that has been checked, not merely wiped on the outside.
What to Verify Before Choosing a Model
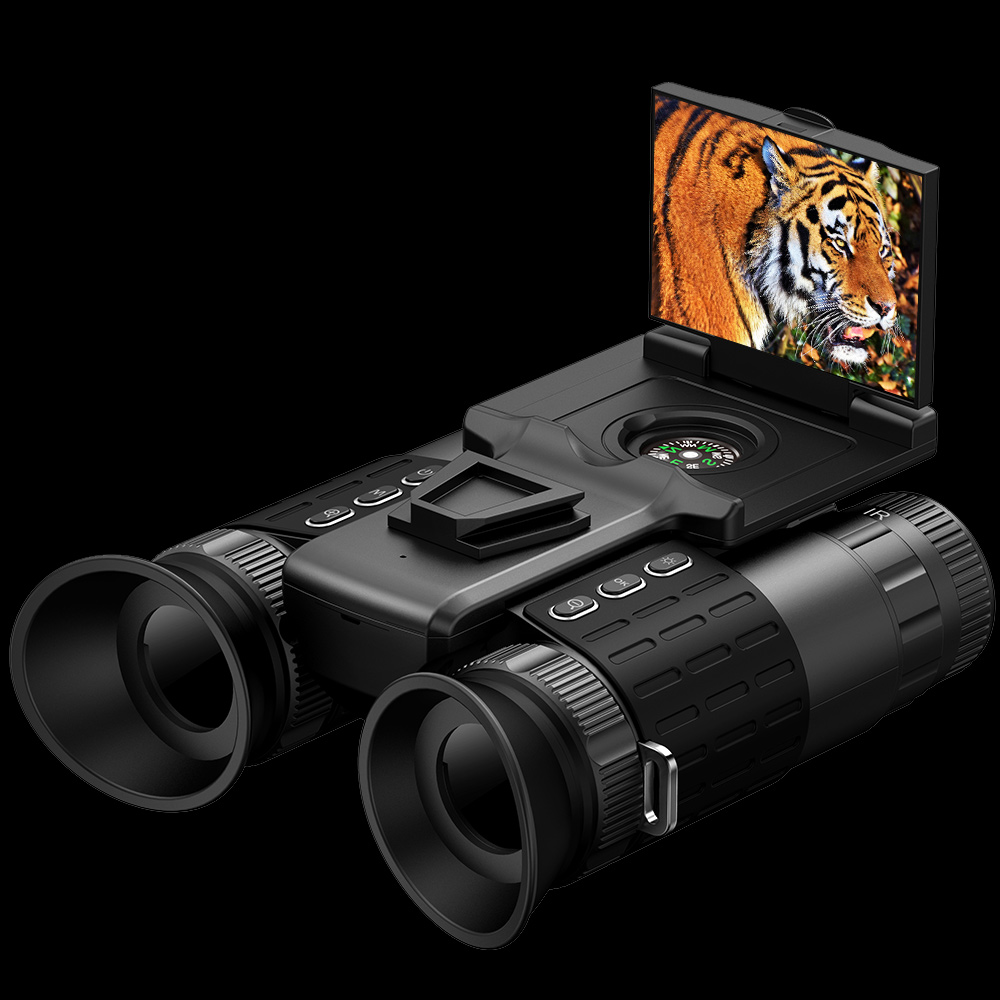
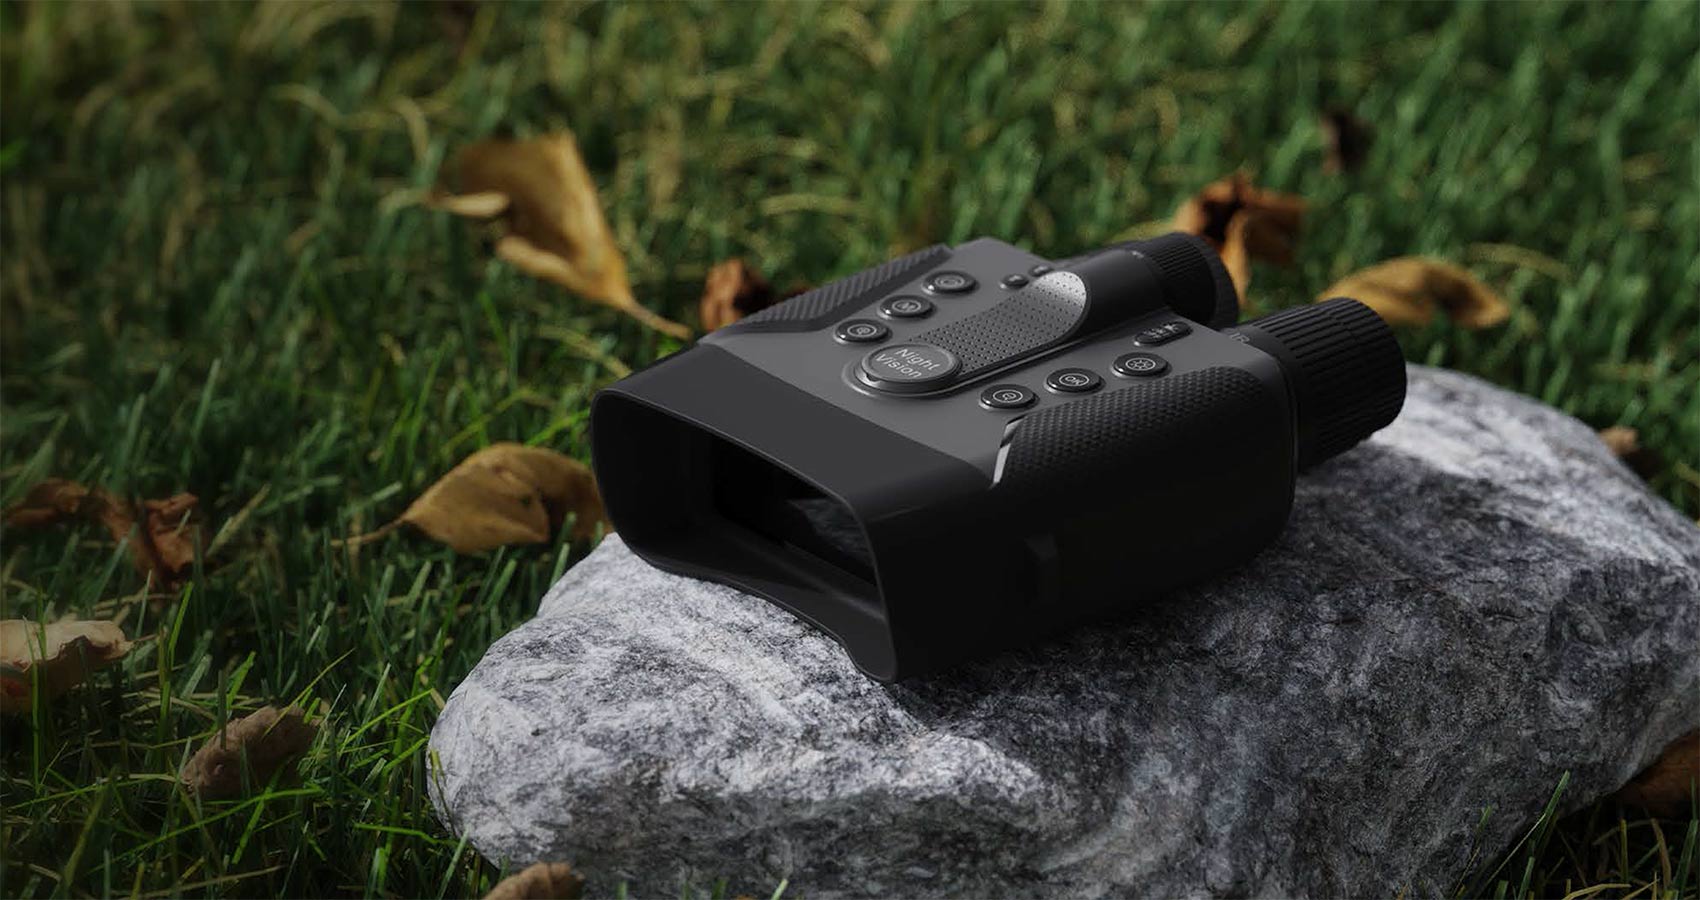
Compare the WildGuarder WG9600 product information with the WG9680 listing, which describes manual focusing and adjustable infrared illumination. Those controls can help manage the view, but they do not establish permission to use either model in any rainfall. Request the water-protection documentation for the exact version you intend to buy.
Send WildGuarder support a description of the sheltered position, viewing distance, and likely weather. Ask about closed-cover requirements, cleaning, condensation, and any compatible mounting arrangements. Ask for representative nighttime footage if the principal concern is recognizing a gate or activity near a building.
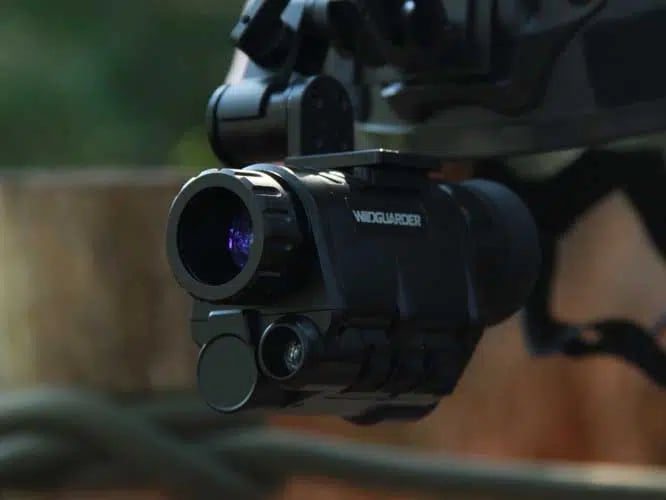
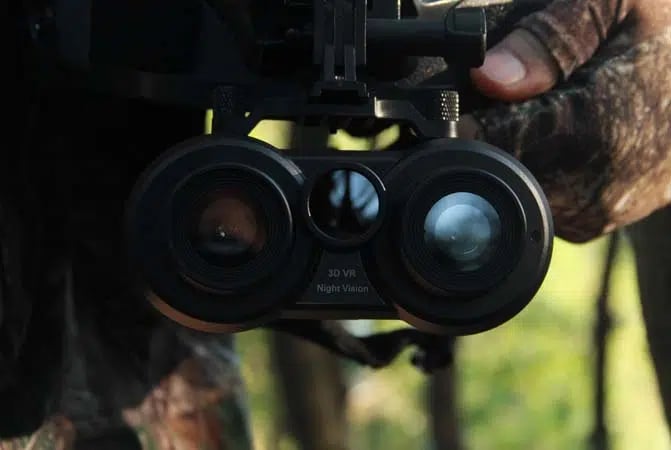
WildGuarder’s outdoor products include night vision binoculars, night vision goggles, range finders, trail cameras, thermal imagers, and solar panel accessories. For farm security, those are different tools rather than interchangeable solutions. A thermal imager uses a different imaging method but is not a promise of visibility through every weather condition. An unattended camera also needs its own weather and installation checks.
Read the store’s current return policy before arranging a trial. Clarify permitted evaluation and the handling of water-related issues. A commercial return period should not be interpreted as authorization to test beyond a product’s stated environmental limits.
FAQ
What are night vision binoculars?
They are viewing devices intended to help you observe in low light or darkness. Digital models show a sensor image on a display and often add infrared illumination. Their weather protection, focusing range, and recording features depend on the individual design.
What are the most common unrealistic expectations about digital night vision binoculars?
Common unrealistic expectations include seeing clear detail at every advertised distance, obtaining perfect motion footage in darkness, or maintaining dry-weather performance in rain. A useful purchase comparison states the subject, lighting, weather, and detail required.
How can I compare low-light performance between two digital night vision binoculars?
Use the same subject, position, distance, and conditions. Begin with comparable zoom and illumination, then evaluate original recordings as well as the live view. Note whether the result shows usable detail or simply a brighter image.
What does ‘true 4K’ mean on night vision binoculars?
It should describe the recording’s actual capture capability, but a 4K file label alone does not settle native sensor detail or low-light quality. Ask for the sensor and recording specifications together with an original sample. Rain-related blur can still reduce useful detail.
What does base magnification mean on digital night vision binoculars?
Base magnification is the starting optical viewing scale before additional digital enlargement, as defined for the model. A lower starting scale can make nearby checkpoints easier to locate. Compare the actual field of view rather than selecting by a zoom multiplier alone.
What is low-light sensitivity in digital night vision binoculars?
It describes the imaging system’s ability to produce a useful signal when little light is available. Lens characteristics, sensor behavior, and processing all contribute. High sensitivity does not remove the effects of a wet lens or heavy foreground glare.
What is the minimum practical distance for night vision binoculars?
It depends on minimum focusing distance, viewing geometry, and infrared behavior. A close reflective object can become overbright even within the focus range. Check the manual and test your nearest farm landmark instead of assuming the device works equally well at every distance.
What does day and night mode mean on digital night vision binoculars?
It refers to settings intended for different lighting conditions, often involving image color and infrared handling. Follow the model’s instructions for switching modes. Changing mode may improve the view, but it does not alter the enclosure’s water-protection limit.
Conclusion
Rainy-night observation works best when you separate equipment protection from image interpretation. Use shelter, known landmarks, and deliberate infrared adjustments to decide what the view can support. Compare the WILDGUARDER Official Store night vision binoculars with your actual farm conditions in mind, and confirm the weather documentation before choosing your model.
Related Reading
- Night Vision Binocular IR Range Explained: How to Read Real-World Limits
- Infrared Night Vision Binoculars: Real-World IR Range for Deer Hunting
- Infrared Night Binoculars Compared: A Practical Side-by-Side Guide
- How Long Night Vision Binos for Cabin Security?
- Why Binoculars with Night Vision Infrared Glow Is Misunderstood: Common Causes and Practical Fixes
- What to Look for in Night Sight Binoculars: What Outdoor Users Should Know
- Understanding Night Sight Binoculars: What to Look For Before You Buy
- Binoculars and Night Vision Value Guide: Features That Matter Most
- Binoculars with Night Vision Explained: What It Means and How to Choose
- Top 10 Things You Need to Know About Night Vision Binoculars